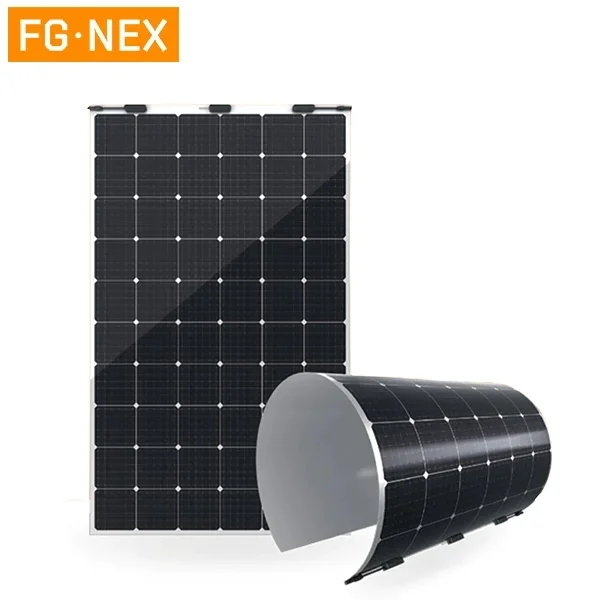
A solar panel is a device that uses solar energy to convert light energy into electrical energy, which can provide us with clean, renewable energy. In modern society, more and more people are paying attention to environmental protection and sustainable development, and solar panels are becoming more and more widely used. In this article, we will discuss the solar panel installation process.

1. Determine the installation location
Before installing solar panels, we need to determine the installation location. Solar panels need to receive full sunlight to be most effective, so the installation location should be in a sunny place. Generally speaking, solar panels should face south and the inclination angle should be equal to the local latitude. If the installation location is blocked by trees or buildings, the efficiency of the solar panel will be affected.
2. Installation bracket
Mounting brackets are an important part of solar panel installation. The material of the bracket should be corrosion-resistant and weather-resistant, such as stainless steel or aluminum alloy. The installation of the bracket should be firm and reliable to prevent the solar panels from being damaged in strong winds or heavy rain.
3. Install solar panels
Before installing the solar panels, we need to connect the panel cables. The cables of the panel should use waterproof connectors to prevent moisture from penetrating into the cables and causing short circuits. Next, we need to place the solar panel on the bracket and secure it to the bracket using screws. During the process of fixing the solar panels, we need to be careful not to be too tight or too loose to avoid damaging the solar panels.
4. Connect the battery board and battery
After installing the solar panel, we need to connect it to the battery. The cables connecting the panel to the battery should use waterproof connectors and should be long enough so that the battery can be placed in a safe location. During the process of connecting the panel and battery, we need to pay attention to the polarity of the cable to avoid short circuits or other faults.
5. Install the inverter
An inverter is an important component in a solar panel system that converts direct current into alternating current. Before installing the inverter, we need to determine the power and voltage of the inverter to ensure that it matches the solar panels and batteries. The inverter should be installed securely and securely and should be placed in a well-ventilated area to prevent overheating.
6. Connect the inverter to the grid
After installing the inverter, we need to connect it to the grid. The cables connecting the inverter to the grid should use waterproof connectors and should be long enough so that the inverter can be placed in a safe location. During the process of connecting the inverter and the power grid, we need to pay attention to parameters such as the polarity and voltage of the cable to avoid short circuits or other faults.
7. Testing and debugging
After completing the installation of solar panels, we need to conduct testing and debugging. The purpose of testing and debugging is to ensure that the solar panel system operates properly and can achieve maximum efficiency. During the testing and debugging process, we need to pay attention to safety to prevent electric shock or other accidents.
The installation of solar panels is a project that requires highly professional skills and strict operating procedures. During the installation process, we need to pay attention to safety and details to prevent failures or other unexpected situations. With proper installation and use, solar panels can provide us with clean, renewable energy and contribute to environmental protection and sustainable development. I hope this article can provide readers with some help to make the installation of solar panels smoother and more efficient.
https://www.fgnexsolar.com/Solar-Panel-Installation-Method.html
