Are you tired of the plain and boring look of your laptop? Do you want to add a personal touch to your device? Custom laptop skins are a great way to express your creativity and make your laptop stand out. Creating your custom laptop skin may seem daunting, but it can be a fun and rewarding project with the right tools and techniques. This guide will provide tips and tricks on creating custom laptop skins that will showcase your unique style. So let's get started!
Decide on Your Design
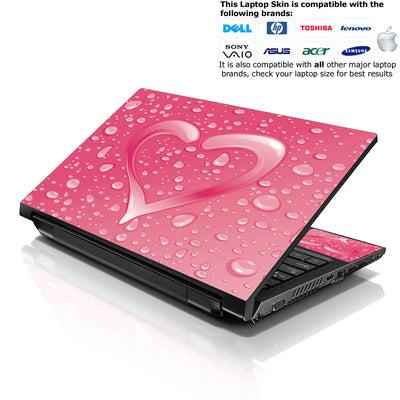
When creating your custom Customized laptop Skin the first step is deciding on the design. This can be a fun and creative process that allows you to express your personality and style. There are a few things to consider when choosing your design, such as the colors, patterns, and images you want to use.
One option is to create a design that reflects your interests or hobbies. For example, you could create a skin with musical notes or instruments if you love music. If you're into sports, choose a design with your favorite team's logo or colors. Another option is to create a design based on your favorite TV show or movie.
Alternatively, you could opt for a more abstract or artistic design. This could include geometric shapes, watercolor patterns, or even an image of your artwork. The possibilities are endless when it comes to designing your laptop skin! Just remember to choose something that speaks to you and makes you happy every time you look at it.
Find the Right Size
Before you start creating your custom laptop covers skins finding the right size for your device is essential. A skin that is too small or too big won't fit properly and may not adhere to the laptop's surface.
To determine the correct size, measure your laptop's dimensions with a measuring tape or look up its model number online. Most laptops' dimensions are listed on the manufacturer's website or in the user manual. Once you have these measurements, you can use them to find compatible skin that fits perfectly.
It's important to note that some skins are designed specifically for certain laptop models, while others are universal and can be trimmed down to fit any device. If you need help deciding which size to choose, it's always better to go with a larger size and trim it down as needed. This will ensure you have enough material to work with and will only accidentally cut off a little of the design.
Print Out Your Template
Now that you have finalized the design and the correct size measurements, it's time to print out your template. This step ensures that your custom laptop Skin fits perfectly on your device.
To print out your template, you can use any standard printer. Use high-quality paper or cardstock to ensure the template is sturdy enough for cutting and applying. It's also important to check that the printer settings are set to "actual size" or "100% scale" so that the dimensions of the template match those of your laptop.
Once you've printed out the template, double-check that all lines and shapes are clear and visible. Any smudging or blurring could result in an inaccurate cut-out. If everything looks good, move on to the next step - cutting out your skin!
Cut Out Your Skin
Now that your template is printed, it's time to cut out your custom laptop skin. This step can be tricky, so take your time and patience. You want to ensure you cut along the lines precisely so your skin fits perfectly on your laptop.
One tip is to use a sharp pair of scissors or a craft knife for more intricate designs. Using a craft knife, use a cutting mat underneath to protect your work surface. Another tip is to cut slowly and carefully around the edges of the design, making small cuts rather than trying to cut through the entire design at once.
Once you've finished cutting out your skin, double-check that it fits properly on your laptop before moving on to the next step. Don't worry if it's imperfect - small imperfections can add character and uniqueness to your custom laptop skin!
Apply Your Skin
Now that your custom laptop skin is ready, it's time to apply it. Before you start, ensure your laptop is clean and free of dust or debris. You can use a microfiber cloth or a cleaning solution to wipe the surface.
Next, carefully peel off the backing paper from your skin. Be sure not to touch the adhesive side with your fingers, as this can leave fingerprints and affect the adhesion of the skin. Align the skin with your laptop and slowly apply it from one end to another, using a credit card or squeegee to smooth out any bubbles or wrinkles.
If you encounter any air bubbles during application, don't worry! Lift the affected area and reapply it while smoothing out any bubbles with your credit card or squeegee. Once you've applied the skin completely, trim any excess material using a sharp blade or scissors.
With these simple steps, you can easily apply your custom laptop skin and give your device a unique look that reflects your style. So go ahead and show off your creativity by designing and applying your very own custom laptop skins!
Conclusion
Creating custom laptop skins is a fun and creative way to personalize your device. With the right tools and materials, you can easily design and apply unique skin that reflects your personality and style. Remember to take the time to decide on your design, find the right size, print out your template, cut out your skin carefully, and apply it with precision. Following these tips and tricks, you can create a stunning laptop skin to make your device stand out. So go ahead and unleash your creativity – the possibilities are endless!