The Cricut Explore Air 2 is a popular crafting cutting machine that can cut, write, and score a wide variety of materials to create all sorts of DIY designs and projects. If you’re new to Cricut or just getting started with your Explore Air 2, setting it up can be a little daunting. But don’t worry! In this easy guide, we will walk you through the Cricut Explore Air 2 setup on Mac and Windows. From downloading the Design Space software to connecting your machine, we’ve got you covered. Let’s get started!
What is Cricut Explore Air 2?
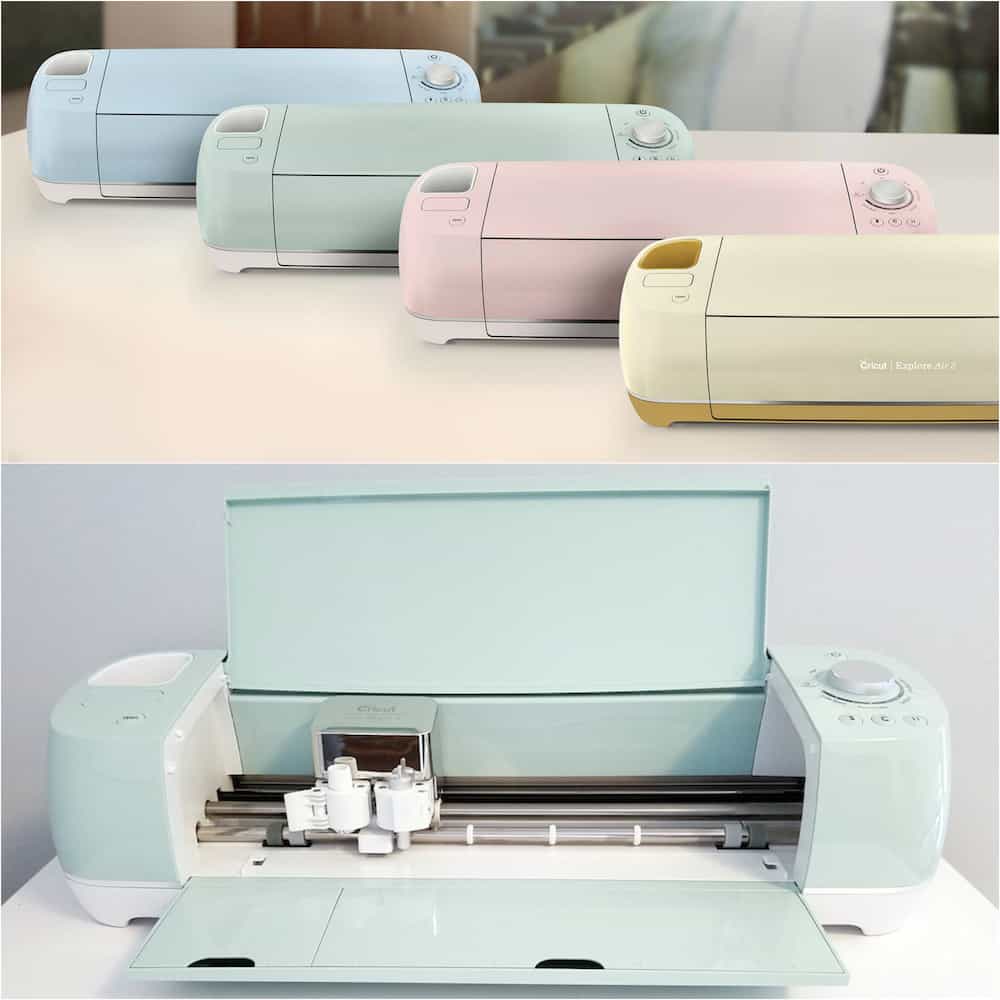
The Cricut Explore Air 2 is a die-cutting, scribing, and scoring machine created for crafters of all levels. This is the mid-range model in Cricut’s line of DIY cutting machines, offering a balance of features and affordability. With the ability to cut different types of materials from cardstock to faux leather and the option to swap out the blade for a pen or scoring tool, the Explore Air 2 machine offers versatility for a variety of creative craft projects. It operates exclusively through Cricut’s software or app – Cricut Design Space, which can be downloaded on your Windows, Mac, iOS, and Android.
What Does Cricut Explore Air 2 Do?
The Cricut Explore Air 2 is a crafter’s cutting machine that cuts a wide variety of materials into almost anything you can dream up for all kinds of unique designs and DIY projects. It can cut dozens (or hundreds) of materials like paper, cardstock, adhesive vinyl, iron-on vinyl, faux leather, fabric, and so much more. In addition, you can swap out the blade for a pen or scoring tool. Each Cricut cutting machine works only through Cricut’s application – Design Space.
How to Use a Cricut Explore Air 2?
Using the Explore Air 2 machine is a fun and creative way to make all kinds of craft projects. Here’s a simple and easy guide on how to use it:
- Set up the Explore Air 2: Firstly, unbox the machine and connect it to your desktop computer or smartphone via Bluetooth or USB cable. Then, download the Design Space software and create a Cricut account.
- Choose a project: In the software, you can select from a wide range of pre-designed projects or create your own from scratch.
- Load the materials: Choose the material you want for your project and load it onto the mat. Insert the mat into your machine and hit the Load/Unload button.
- Adjust settings: Choose the material you’re using in the software, and adjust the settings, such as force, speed, and blade depth, as per the material you’re using.
- Cut out the design. Tap the Go button and watch your machine cut out the design. When it’s finished, take off the mat and remove your project from the mat.
- Add finishing touches: Depending on your project, you may need to add elements such as adhesive or HTV or embellishments like buttons or sequins.
- Enjoy your finished project. After you’ve completed all the steps, enjoy your project and start thinking about what you’ll do next!
Keep in mind practice makes perfect. Do not be afraid to experiment with different materials and designs to create unique and custom projects.
Cricut Explore Air 2 Setup on Mac
Here’s a quick and easy guide to setting up the Explore Air 2 machine on your Mac system:
- Firstly, ensure your Mac is connected to a stable internet connection.
- After that, open your browser and go to the official Cricut website.
- Then, select the Sign In button at the top-right corner of the website.
- If you already have an account, sign in with your Cricut account. If not, create a new account.
- After signing in, open the Design tab on the top of the website to open the Design Space software.
- Next, connect the machine to your Mac using a USB cable that came with the machine.
- Power on the machine by tapping the power button located in the upper-right corner of the machine.
- The green light on the machine will start flashing as soon as the machine is started.
- Now, open the software on your system and press New Project to start a new project.
- Then, select the material you want to cut, and choose the design you want to use. You can either choose a pre-created design or create your own.
- After selecting the design, tap the Make It button in the Design Space software.
- In the next window, you will see a preview of the design. If everything looks good, hit the Continue button.
- On the next screen, you need to select the material you are using and set the size of the material. Make sure the material is loaded into the machine.
- After that, you have to press the Go button to start the cutting process of your design.
- Once the cutting is done, take off the material from the machine and admire your new DIY design.
That’s it! You have set up your Cricut Explore Air 2 machine on your Mac system and created your first craft project.
Cricut Explore Air 2 Setup on Windows
In order to set up the Explore Air 2 machine on your Windows, follow the basic steps outlined below:
- First, confirm that your computer meets the system requirements for the Design Space software. You can find the requirements on the Cricut website.
- After that, plug in the power cord and USB cable to the Explore Air 2 machine.
- Then, connect the USB cable to your Windows computer.
- Next, go to the Cricut website and tap Design Space in the top right corner.
- Now, download Design Space and install it on your computer.
- In the next step, you have to open the software.
- Create a new account or log in to your existing Cricut account.
- Follow the steps on the screen to set up your Explore Air 2 machine.
- Turn on your Explore Air 2 by clicking the power button on the top of the machine.
- Then, open the New Project section in the software to start creating your craft project.
- After that, follow the steps to select the materials and customize your design.
- When you’re ready to cut your design, ensure your machine is on and connected to your computer.
- Load the material onto the mat and insert it into the Explore Air 2 machine.
- In the software, select the Make It option to prepare your design for the cutting process.
- Follow the on-screen steps to set the material and blade settings.
- Press Continue and follow the prompts to connect the cutting machine to your computer.
- Once your machine is connected, hit Go to start cutting your design.
- When the cutting is done, unload the material and take it off the mat.
- In the end, your unique design and craft project is complete!